Contact’s form
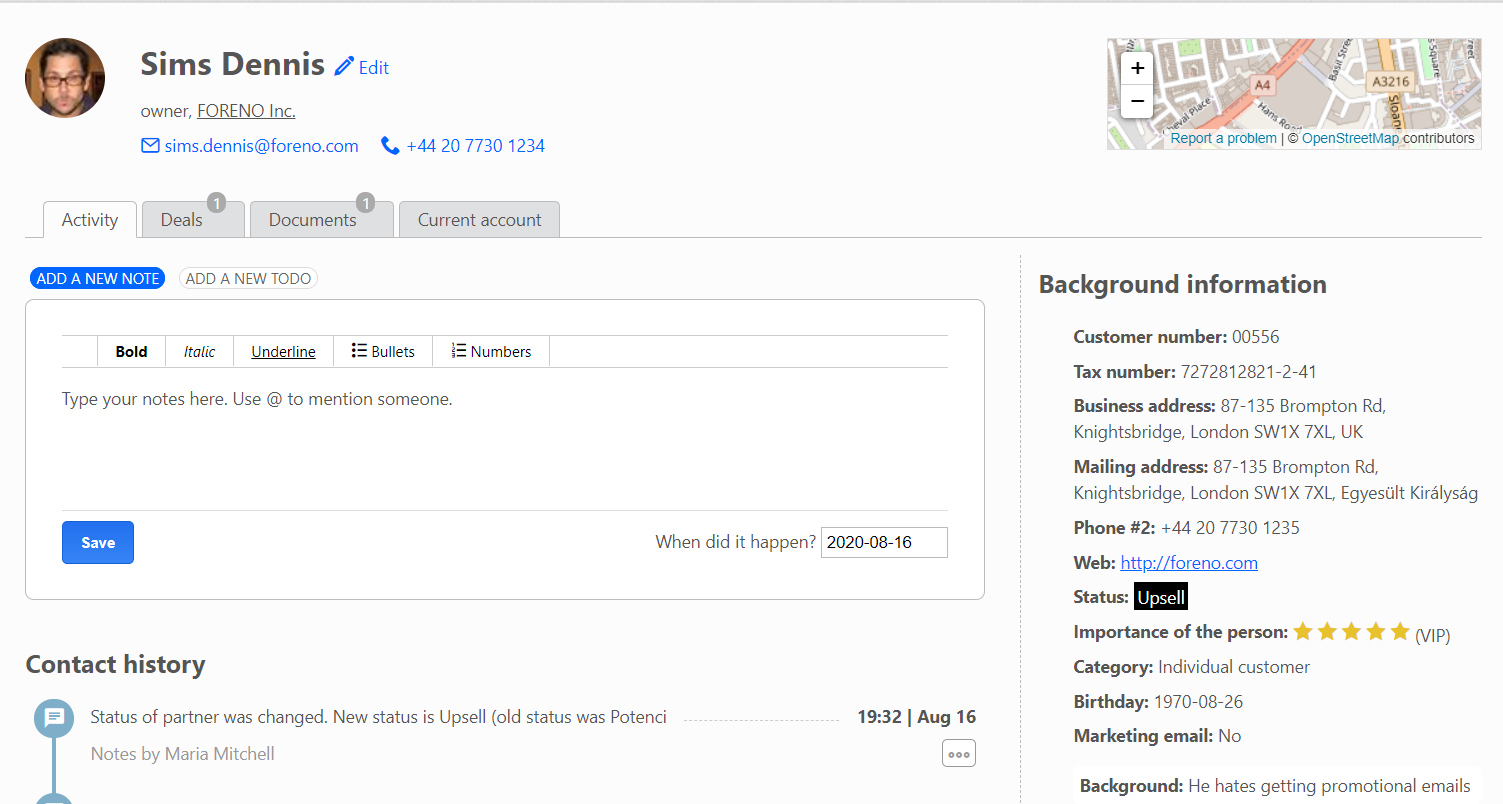
Clicking on the name of a partner in the “Contacts” or “Companies” list opens the partner’s profile. The upper part shows the contact information of the partner and below other information about the partner is grouped and displayed in separate folders. At the top right part of the window, you will see a map of your partner's address (as the place of residence or place of business). Under this you see the main information recorded to your partner, such as customer number, billing address, status, etc.
Notes
The conversations assigned to the person or a company are displayed here, and you can also add a new note: you can type the note you want in the “Add a new note” window. For example, you can record that “you two have just agreed on the phone to have an appointment in 1 week.” or "You may pay the service fee, but you would like a 2 day delay."
Once you have recorded the note, the person who created it may edit it for up to 30 minutes. After that, the note is locked in the system, cannot be modified or deleted.
If you have already made an event for a contact, those entries will be added to the contact's profile form. Entries recorded in this way are listed in chronological order on the partner's profile and can be viewed by all users if they have access to the partner's profile. These entries will build a customer relationship story. Anyone with access to the account, including the client, can track what and when they agreed with that client. This way, you can get ready for a phone call or meeting with a customer (even if you do not know each other yet) in an instant.
If a user is no longer working at your company, the data recorded by him will still be found in the system. These entries will not be deleted when the user leaves. After the user is deleted, the registrant of the entry will not be visible. However, if you only make the user inactive, the person who made the post will remain visible.
Deals
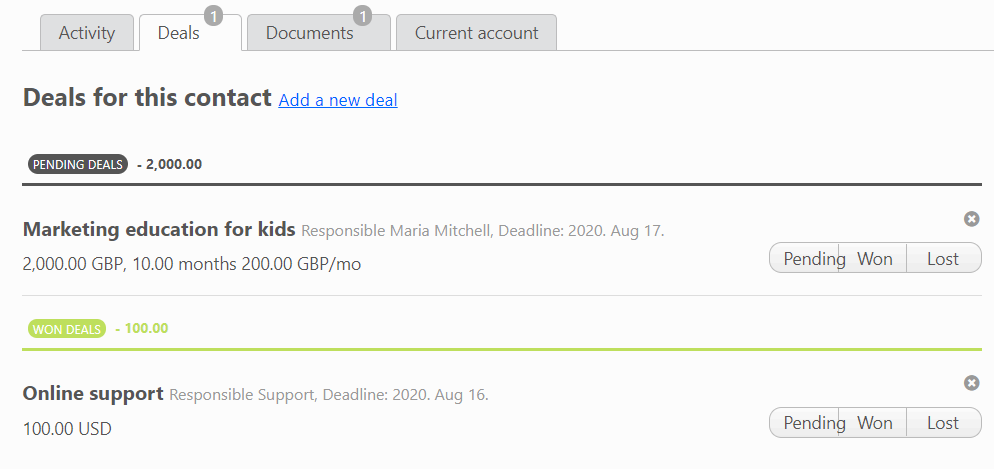
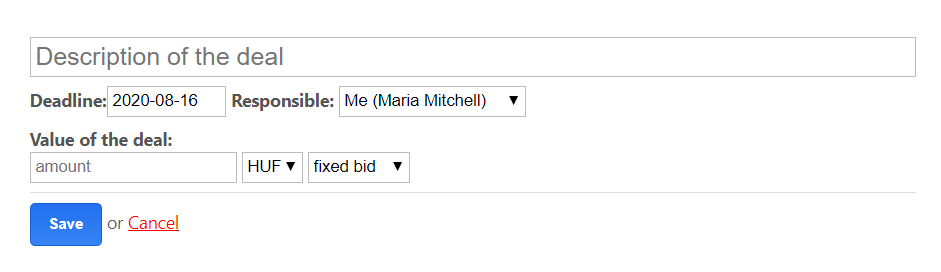
This folder shows the deals recorded for the partner, and here it is possible to record a new one. Recording the deal, you can specify its name, due date, responsible person, amount, and expected payment frequency. The deal can be divided into 3 categories: pending, won or lost. When the deal is registered it will be in a pending status, and the won or lost status can be set after. The deals folder allows you to quickly manage business events related to, expected or realized for a given partner.
To-dos
Your to-do list will be displayed here for the partner, or you can record a new one. If you want to record more than one task at one time, you will be warned that you already have a task to that date. You can assign tasks to another person and, if necessary, choose additional contributors. Shared tasks are added to the calendar of the selected responsible person as an event. The responsible and contributors will receive an automatic email notification of the task being assigned to them.
Tasks can be tracked here, or in the To-do module by filtering partner’s to do items. Incomplete tasks are clearly visible. People responsible for the event will receive an automatic summary email about their tasks at 7:30 a.m.every day. Expired to-do tasks are displayed as warnings by clicking on the "bell" icon in the upper right corner of the CO3 interface.

Documents
You can view documents attached to the contact or upload new ones. You can directly assign documents, images, and audio files to the contacts using the "Attach files" feature on the contact’s form. You can either attach files by the drag and drop method or you can choose them manually. The document library manages all known office file formats. It is important that the maximum file size is 20MB. You can also specify who can see the uploaded document.

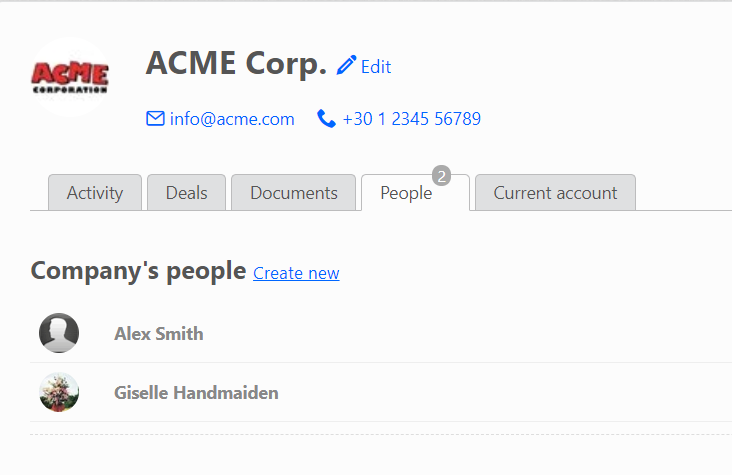
People (only in case if your partner is a company)
For a company-type partner, the list of people associated with the company is displayed. Clicking on a person's name opens their profile.
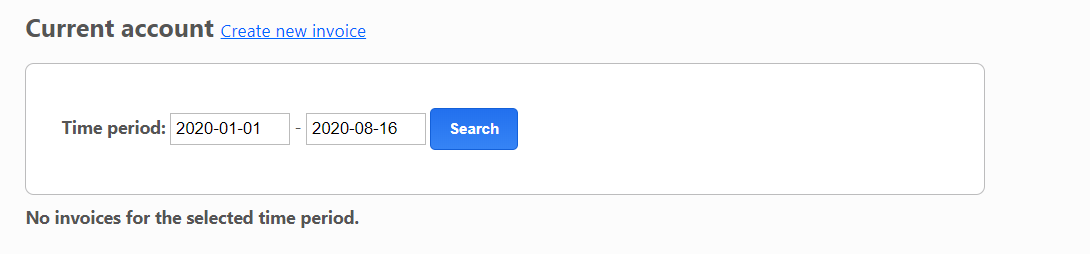
Current account
The “Current account” feature is only available as a separate subscription add-on. This add-on allows you to track the payment history of a partner and any outstanding debt. All of this are possible without requiring the user any financial rights.
You can directly issue an invoice by clicking on the "Add a new deal" link. The system will automatically navigate you to the Finances module, where an invoice waiting to be captured will be filled in with the details of that partner. See the Finances module for step-by-step instructions on invoicing.
The add-on also provides the ability to automatically issue recurring invoices. To start automatic billing you must first create your first invoice for your partner. You can then set it from the Current account tab with the Settings link. You can set:
- the billing period: weekly, monthly, quarterly
- how the billing period is displayed: actual period, previous period, next period
- the invoice should be sent electronically or by email (in this case you should tick the “Send electronic invoice via e-mail” checkbox)
- or you can suspend billing here.
The setting should be done only once for each partner involved. You can then start billing in the Finances module, “Useful” section (top of the page) - Automatic billing part. Partners marked with email will receive the invoice immediately, while the other partners will get one PDF file after every 500 accounts generated by the system. The contents of the files can be mailed after printing and filing.