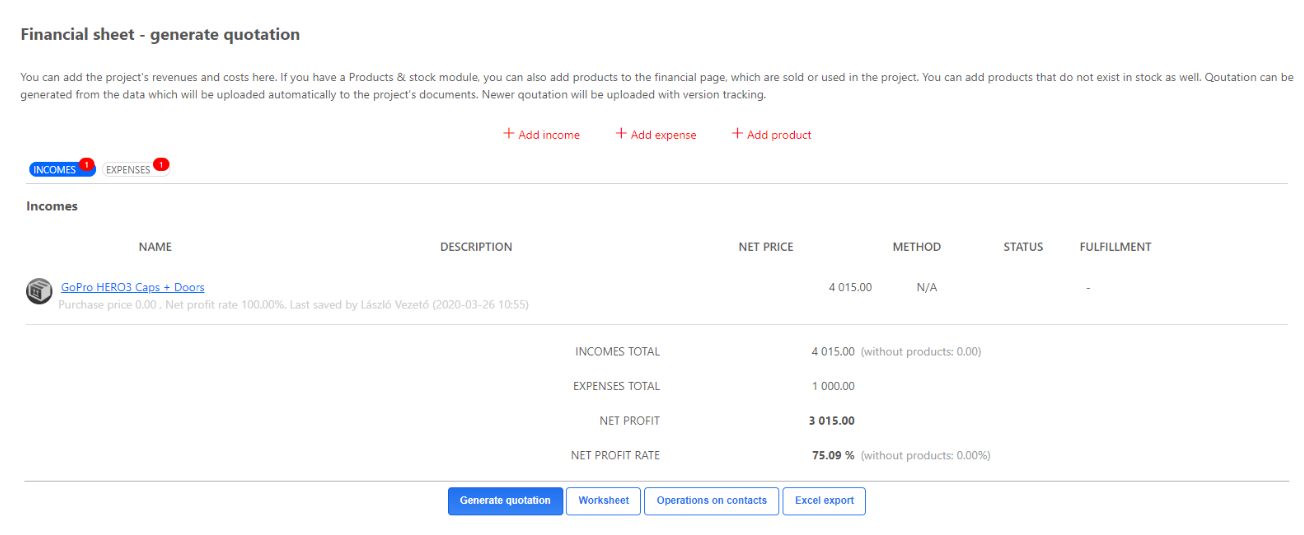
Financial sheet
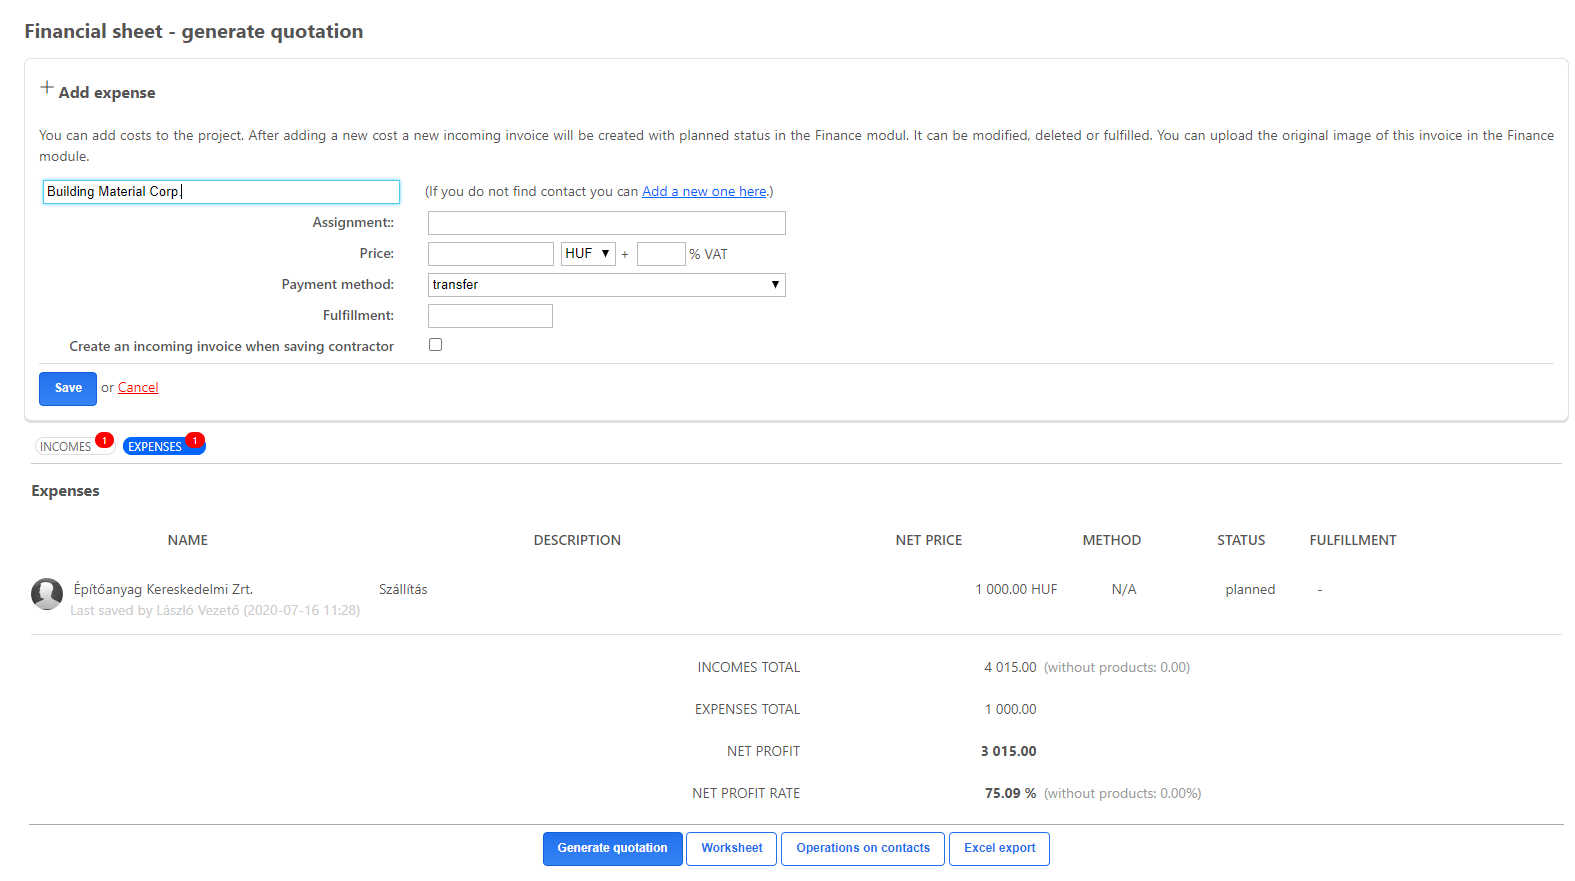
On this sheet you can add expenses or incomes to the project that is, subcontractors, revenues related to the project and products used. If the "Create incoming invoice when adding expenses by default" option is enabled on the Projects Settings page, the registered cost immediately creates a planned status incoming invoice in the Finance module. This expense can be later changed in the “Projects” module or in the “Finances” module. If an invoice is linked to a project in the “Finances” module, then the invoice will automatically appear in the project’s “Financial sheet”. The point is, that the same data is displayed in two separate places. If an expense’s status is changed, it can’t be changed in the “Projects” module, so you can only work with it in the Finances module. Thus, the project planning and fund cost management process can be separated from the actual financial processes.
You can link expenses from the “Products and stock” module, if the project has the module. Applying the expenses won’t result in a decrease of products in the “Products and stock” module.
Linking expenses to a project helps to make a quotation by pressing the “Generate quotation”.

After linking an income to a project, an outgoing invoice appears in a saved status. This is also important and separates the project’s basic expenses from the actual financial process. This invoice, just like a proforma invoice can be printed, can be sent out or can be created as a numbered invoice or it can be deleted also. After recorcing incomes and expenses, if the selected currency differs from the user’s default currency, then a currency field where the exchange rate can be set will automatically appear. The system, based on the above-mentioned function, will automatically calculate the given incomes, expenses, with the user’s default currency.
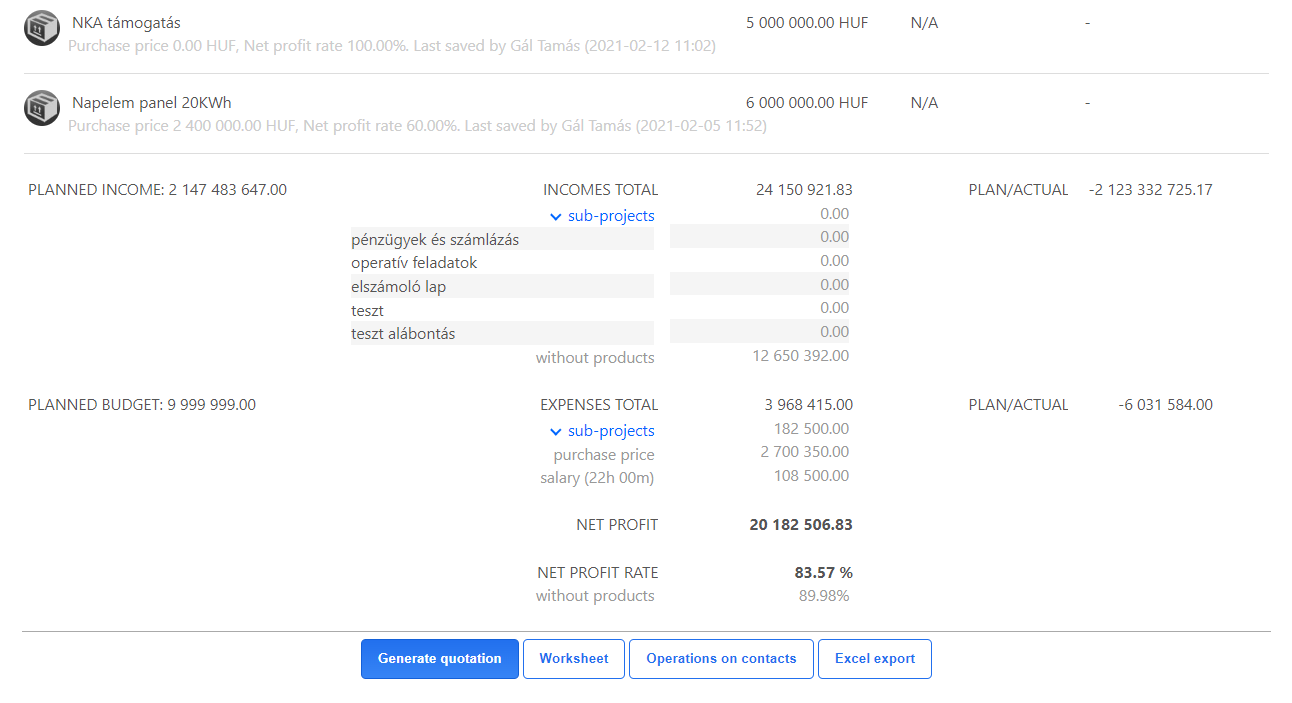
In the financial sheets of the projects, the costs and revenues of the sub-projects can also be tracked. This data is "wound up" from the sub-projects, so that the entire income and expenditure side of the project can be seen and controlled in the financial sheets higher up in the project hierarchy.
Here you can also allocate working time to the project costs. The labour costs of the project are listed in the bottom part of the Financial sheet tab, both in cash and in time. This makes it easier to see the total cost of the project.

In the project’s financial sheet, a net profit and profit rate will automatically calculate from the incomes and expenses. This gives a picture about a project’s profit.
When recording expenses and incomes, the related contact’s selection is helped by an autocomplete field. If a contact isn’t added to the CRM database, then you can create and add the contact directly here. Expenses and incomes can be sorted either in decreasing or increasing order.

Create a worksheet
You can create a worksheet in the project’s Financial sheet. With its help an XLS document can be made (closely resembles the “Deals” template), which contains every major data, with some differences:
- “Deals” are replaces with “Worksheet”,
- some product row’s unit price and total price is missing,
- notes linked to product rows will appear,
- and the template will end where the list ends.
Give product rows prices
In the “Expenses” window, adding different costs is available. This possibility appears in case the option "Create incoming invoice when adding expenses by default" is not checked in Settings. This is one and the only way to enter additional information besides the invoice's data.

After adding an expense -without creating invoice-, hoover your mouse onto the expense and press the pencil button to edit the expense. After pressing the button, the following will appear:
- gross price field,
- and description field.
Proposed price is a net price. After completed, the system will automatically calculate the percent difference between the net and gross price. Expenses can be edited at any time.
While making a proposed price, the system won’t charge as of the “Margin on contractor costs”. If a product row doesn’t have a proposed price given, then the system will add a charge as of the “Margin on contractor costs”, which will go into the Deal.